

Are you searching for innovative and one-of-a-kind methods to market your company’s brand, goods, and services? Your company’s t-shirts, hats, and workwear may benefit from unique embroidery to distinguish them from the competition. It is one of the most effective methods of capturing the attention of prospective customers and, as a result, generating more leads. It is necessary, however, for a logo or design to be produced by a professional prior to being embroidered by a machine, and this is accomplished via the process of digitizing. While customers are not required to comprehend every step of the embroidery process, being acquainted with it may help you express your requirements more effectively to your embroider. We’ll go through the fundamentals in the sections that follow.
Understanding the Process of Embroidery Digitization
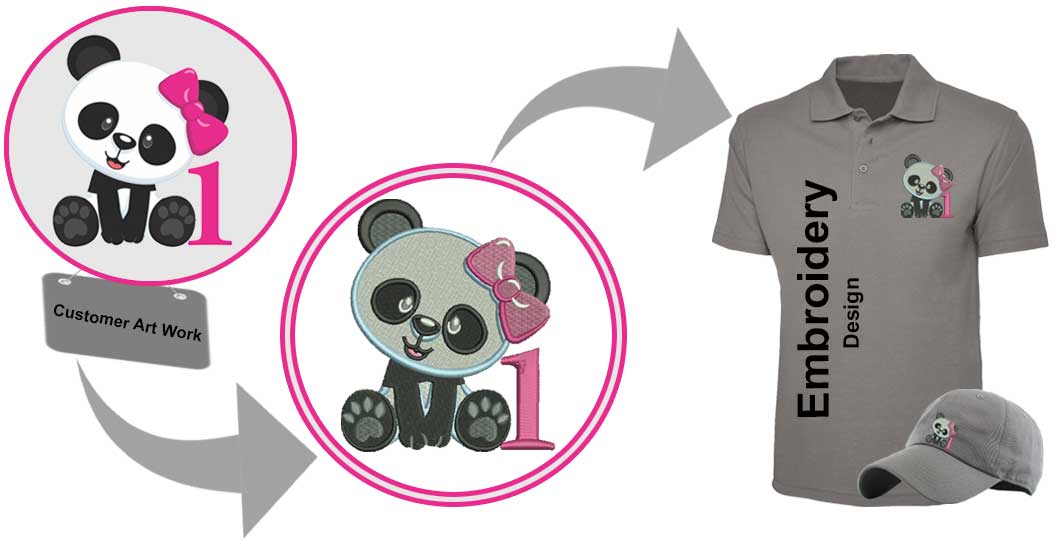
To create embroidery digitizing files, special software is used to transform pre-existing artwork or images into digital files that can be read by an embroidery machine. The machine then attaches the stitches to the artwork without a hitch, thanks to the fact that it is programmed to obey familiar instructions. In essence, a digitizer is a program that directs the embroidery machine via sewing patterns or stitch patterns. Having your company logo displayed on a variety of accessories and clothing requires digitizing in order to produce high-quality embroidery that will enhance brand recognition. So, how does it function in practice with the embroidery digitizing?
Is It Possible to See What the Embroidery Digitizing Process is Like?
Prior to beginning the procedure, the most essential factors are the kind of fabric to be used, the design that will be needed, and the machine specifications. The next step is to transform the artwork into the appropriate file format using digitizing software once all of the above has been determined and documented. The actions that must be taken are as follows.
1) Uploading The Artwork To The Software Application
The design file, such as a logo, is put into the digitizing program, and the process begins. Unwanted blank areas surrounding the picture to be stitched are taken out of the final image.
2) Determining The Size Of The Design
The required dimensions have been established. This should be the precise size of the picture that will be printed on the promotional item.
The next step is to choose the kind of stitch you want to use
It is possible to create various textures and finishes using stitches since they come in different shapes and sizes. The following are the three most common kinds of machine embroidery stitches:
Stitching with a straight needle
Satin stitch (also known as satin stitching) is a kind of stitch that is used to create a smooth surface.
Fill stitch The length of the stitch should be carefully examined while creating the fill stitch. During this phase, a digitizer takes into consideration the kind of material as well as its “push and pull.”

4) Determining The Direction Of The Stitching
This phase is concerned with providing instructions to the machine on how to finish each stitch successfully. Unwanted patterns, leaps, trims, and other aesthetic defects may appear in the design of the stitch direction is not properly directed.
5) Determining The Color Of The Thread
Colors are selected from a color bar on the right. Most importantly, embroidery threads should be chosen to match the logo’s color scheme as closely as possible. As you choose the Embroidery digitizing services, you need to keep these things in mind.